
IVENZA
INDUSTRY 4.0 AUTOMATION SYSTEM
Skills: Information architecture, Work Flow/Layout/Interaction Design, Visual Design, Web Design, UX research, Customer journey mapping, Service Blueprint, User Interface design for tablets.
Client: Numdata BV
Project: Ivenza online CNC program
Tools used: Illustrator, Photoshop, Axure, TYPO3
Team: Projectleader, Developers, and UX designer
Tools Used: UX research tools, Customer Journey mapping, Card sorting, User task flow charts, Personas, Illustrator, Photoshop, TYPO3, Axure
Website: Numdata.com
Touch the picture to see the customer journey movie

OVERVIEW
Ivenza is an intelligent system and concept for designing, presenting, and production of panel-based products for residential and office purposes. Ivenza is entirely web-based and can, therefore, be used on any PC in any location. Ivenza is aimed at manufacturers and retail organizations that believe in high levels of automation and make custom designs regularly. Ivenza is very well suited for mass customization.
MY ROLE
I took the role as a UX researcher on how to turn the vision of Ivenza around to be of more interest to more target groups than production plants.
Along the journey, I established new concepts that struck more complete offers, worked with a developer on a whole new concept applicable to mobile and desktop for consumers and retailers. User Experience Design: Visual Design, user journey
DURATION
I did user research and user experience design from the day I got to know the firm from 2003 to 2015.
THE CHALLENGE – THE APPROACH – THE DISCOVERY – THE FRAMEWORK – THE REFINEMENT
The challenge
ANOTHER MINDSET
-
Make changes in a program that is already working
-
Change the mindset and offers
-
Working with high (intelligent) experienced developers who developed the program


TEAM DYNAMICS
The design team for this project consisted of myself and one other front-end developer, a senior information architect, and the business owner. The team was quite critical and I had to pull out my logical thinking hat quite a few times.
The approach
DESIGN DECISIONS
High technology
We thought that augmented reality and artificial intelligence should be used, to make a difference.
RESPONSIVE
Accessible with different mobile, tablets, and Apple machines
KICKOFF
To kick-off, I organized a workshop with key stakeholders at Numdata to define our goals for the product and our success metrics. We brainstormed what our users of the different target groups may want to achieve and detailed the design process for the project following the Double Diamond methodology. Discover, define, design, and deliver.
User interviews and user research
These interviews focused on understanding the needs and wants of the users of the different target groups. All of the information we collected led us to develop a deep understanding of the clients and to gather crucial insights into how there could be more need for using Ivenza when starting at the beginning of the customer journey.
PERSONAS
Our interview notes were combined and were then sorted into categories. We quickly identified three primary personas:
From here, we could then begin to make statements about each persona we identified.
- The customer user
- The retail user
- The CNC site user
CUSTOMER JOURNEYS
For three different target groups, three different user journeys were set up. As you can see on the left above at the beginning of this webpage, we filmed the customer journey from the consumer.
The discovery
MORE THAN A CNC PROGRAM
Ivenza can cover the whole journey of the product. The consumer can design at home on his tablet a cabinet, see the choice of materials at the DIY store, make the order final with a salesperson if he wants. He can send the order online, to the production plant. There the order can go into production. The next logistic is inclusive.
The framework
PROTOTYPING
As a UX designer I only needed to prototype, but most of the time the programmers could code faster. I only have to sit next to them and communicate with them.

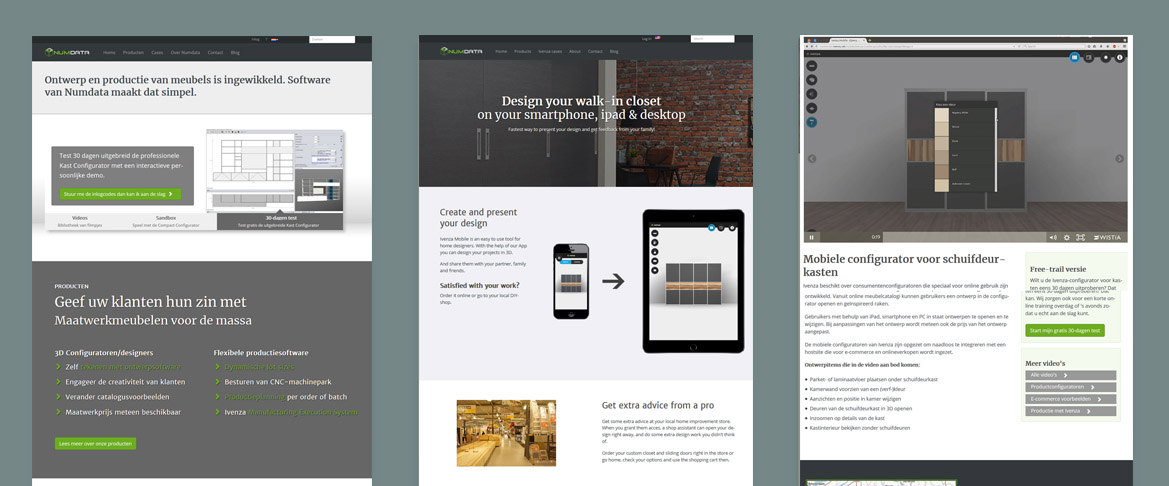
E-COMMERCE MVP
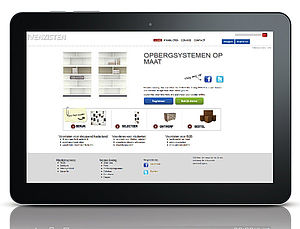
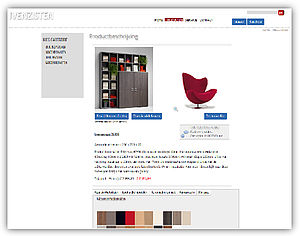
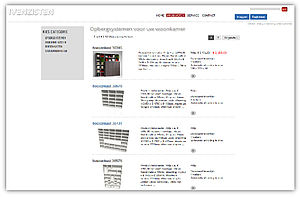
3 D configurator in Ivenza
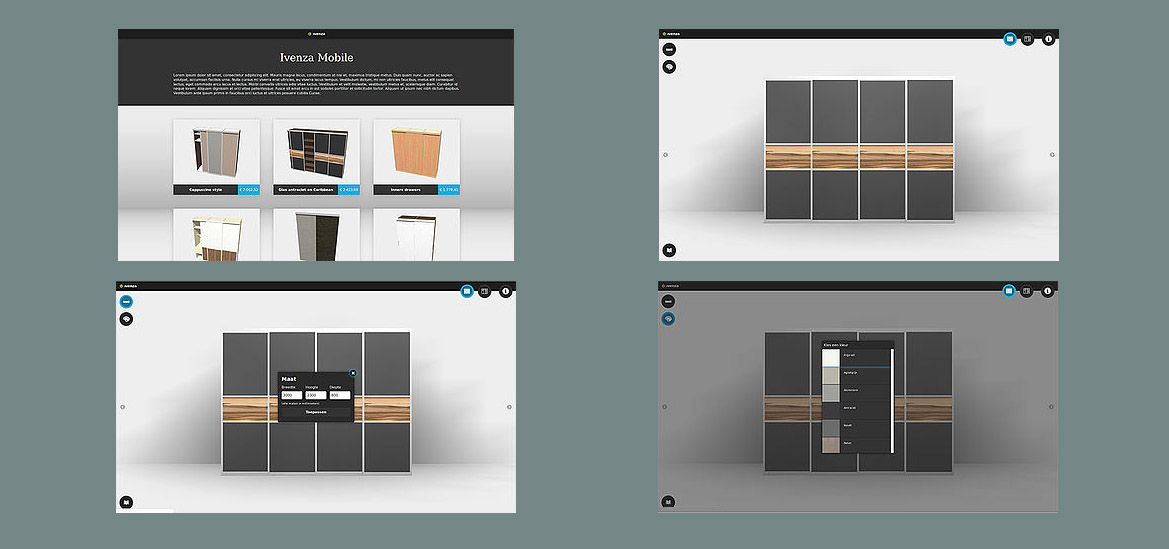
Go to app ->
HMI examples from the IVENZA CNC program

This is a screenshot of how it was before changing into more useable information.
On the panel, we scan the sticker and this is what you see on the screen near the machine. It shows how the panel should be placed on the machine. Here you can see where the holes should be drilled. Above the drawing you see information about aanslag, productie- item, cyclus scenario, eindtoestand and a warning: PAS OP…
This is coded in JAVA.

This is the result of a more user-friendly information screen. What information is most useful to the user? And how is it more clear without reading but looking at it at a glance in a more iconic way? By presenting the panel in 3D and showing the drilling above and beneath the panel it gets clear.
The orange drills are left turning drills, the grey right turning. Here you can have control if the drills are placed in the right way.
When the instruction is followed it is possible with a scan to turn on the machine.
This can be shown in a browser, online in a hosting center, and via a cloud system. Also on a PC, were ever to have a look elsewhere.
This is coded in Javascript and WebGL with React.
The packaging job shop shows by scanning the production item what should be packaged and printed on this workstation. For a check-up, you see the number of items, the width, length, height, and mass weight.
This is a look at what scenarios there are on the machine. I this case we choose a sliding door closet with all the info on the stickers bar code. By clicking on the scenarios button we can select one scenario and see all the info that goes with it.
The manager production item number, properties like status, description, article type actions ( print label or DXF export), history, production tasks, handling, label 3D design drawing with the possibility to turn around and check.
In three steps how to mount a sliding door.
Begin by scanning the barcode. Ivenza gets the data and then you see the three steps to go through:
What do you need?
(This should be fetched)
Then
1. Mount the back
2. Mount the front
3. Check the accessories
Then scan print the label and when ready go to the next production-item
Here you see one instruction: Scan productie-item. After scanning you can see how the panel is placed and you can take a look at the machine. By turning the 3D visual you can inspect the whole machine.